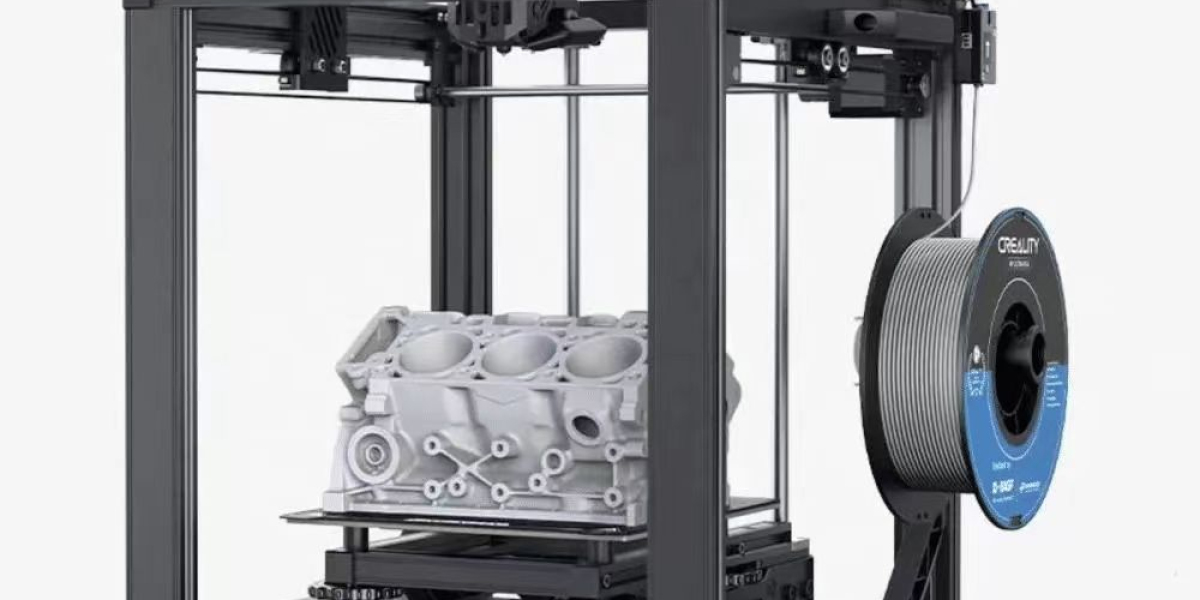
However, maintaining an FDM printer’s peak performance requires regular cleaning. Dust, filament residue, and general wear can affect print quality and reliability over time. Proper cleaning not only extends the lifespan of your printer but also ensures high-quality prints every time. Here’s how to effectively clean and maintain your FDM 3D printer.
1. Cleaning the Print Bed
The print bed is crucial for first-layer adhesion and overall print success. Over time, it can accumulate residue from adhesives, filament debris, and other contaminants.
Steps to Clean the Print Bed:
- Remove Debris: After each print, use a plastic scraper or spatula to gently remove any stuck filament or residue from the print surface.
- Clean with Isopropyl Alcohol (IPA): For glass, PEI, or other non-porous surfaces, wipe the print bed with a lint-free cloth soaked in 70-90% isopropyl alcohol. This removes oils, dirt, and adhesives.
- Avoid Abrasives: Do not use harsh abrasives or metal scrapers on delicate surfaces like PEI sheets, as they can scratch and damage the bed.
Regular cleaning ensures optimal adhesion and minimizes warping or detachment issues during printing.
2. Nozzle Maintenance
The nozzle is responsible for precisely extruding filament, but it can easily become clogged with burnt material, residue, or dust. Regular cleaning of the nozzle is essential for smooth extrusion and print quality.
Steps to Clean the Nozzle:
- Cold Pull Method: Heat the nozzle to a recommended temperature for your filament, insert a filament (like nylon) designed for cleaning, and let it cool slightly. Pull the filament out slowly to remove debris and residue. This process can be repeated for thorough cleaning.
- Needle Cleaning: A fine needle designed for nozzle cleaning can be used to gently clear any blockages. Insert the needle carefully into the nozzle while it is heated.
- Chemical Cleaning: For more severe clogs, chemical solutions such as acetone (for ABS residue) can help dissolve stuck material. However, use this method cautiously, as it may damage the nozzle.
For frequent users of abrasive filaments, consider using hardened steel or ruby-tipped nozzles to minimize wear.
3. Extruder Gear and Feed Path Cleaning
The extruder gear grips and pushes the filament through the hot end. Over time, it can accumulate filament dust, reducing grip and causing under-extrusion.
Steps to Clean the Extruder:
- Access the Gear: Depending on your printer design, you may need to partially disassemble the extruder to access the gear.
- Brush Off Debris: Use a small wire brush or toothbrush to remove filament dust and particles from the extruder gear.
- Check for Filament Path Obstructions: Ensure that there are no blockages in the filament path by feeding a filament segment manually and checking for smooth movement.
4. Cleaning Fans and Cooling Ducts
Fans are essential for cooling the hot end and part, but dust and debris buildup can hinder airflow and lead to overheating or inconsistent cooling.
Steps to Clean Fans:
- Turn Off and Unplug the Printer: Safety first! Ensure the printer is completely powered down.
- Use Compressed Air: Gently blow compressed air through the fan blades and cooling ducts to remove dust.
- Check for Debris: Remove any large particles by hand, taking care not to damage delicate fan blades.
5. Lubricating Moving Parts
Proper lubrication is necessary to keep the printer’s moving components, such as rods, lead screws, and bearings, running smoothly. Dust and debris buildup can hinder their motion, resulting in layer shifts or print defects.
Steps to Lubricate:
- Clean First: Wipe down rods and lead screws with a clean, dry cloth to remove old lubricant and dust.
- Apply Lubricant: Use a PTFE-based or lithium grease lubricant designed for 3D printers. Apply sparingly and move the components manually to distribute the lubricant evenly.
6. Frame and Surface Cleaning
Dust can accumulate on the printer frame, belts, and electronic components, impacting performance.
Steps to Clean the Frame:
- Wipe with a Dry Cloth: Regularly dust the frame and surfaces with a soft, dry cloth.
- Check Belts and Tensioners: Inspect belts for dust and wear, ensuring they remain properly tensioned.
Conclusion
Regular cleaning and maintenance of FDM printers can make a significant difference in print quality and machine longevity. By establishing a consistent cleaning routine that includes the print bed, nozzle, extruder, fans, moving parts, and the printer frame, users can ensure their printer delivers consistent, high-quality prints while reducing the risk of mechanical failures. With proper care, your FDM printer will continue to be a reliable tool for creative and functional projects.


