Recessed lighting has become a popular choice for homeowners looking to enhance their interior spaces. The easy install recessed lighting options available today make it simpler than ever to achieve a modern and sleek look. This guide will provide you with detailed instructions and insights into the installation process, ensuring that you can illuminate your home with confidence.
Understanding Easy Install Recessed Lighting
What exactly is easy install recessed lighting? This type of lighting fixture is designed for straightforward installation, often requiring minimal tools and expertise. Typically, these fixtures come with integrated LED technology, which not only saves energy but also reduces the need for frequent bulb replacements. If you are considering upgrading your lighting, understanding the benefits of these fixtures is essential.
Benefits of Easy Install Recessed Lighting
- Energy Efficiency: Many recessed lights use LED technology, which consumes less power.
- Space-Saving Design: These fixtures are installed flush with the ceiling, creating a clean look.
- Versatility: They can be used in various settings, from kitchens to living rooms.
- Improved Aesthetics: Recessed lighting enhances the overall ambiance of a room.
Step-by-Step Installation Process
Installing easy install recessed lighting can be a rewarding DIY project. Here’s a step-by-step guide to help you through the process:
- Gather Your Tools: You will need a drill, wire cutters, a voltage tester, and a screwdriver.
- Choose Your Location: Decide where you want to install the lights. Ensure that there are no obstructions above the ceiling.
- Turn Off Power: Always turn off the power at the circuit breaker before starting any electrical work.
- Cut the Ceiling Opening: Use the template provided with your recessed lighting kit to cut the appropriate hole in the ceiling.
- Connect the Wiring: Follow the manufacturer’s instructions to connect the wiring securely.
- Install the Fixture: Push the fixture into the ceiling opening until it is flush.
- Restore Power: Turn the power back on and test your new lights.
Choosing the Right Fixtures
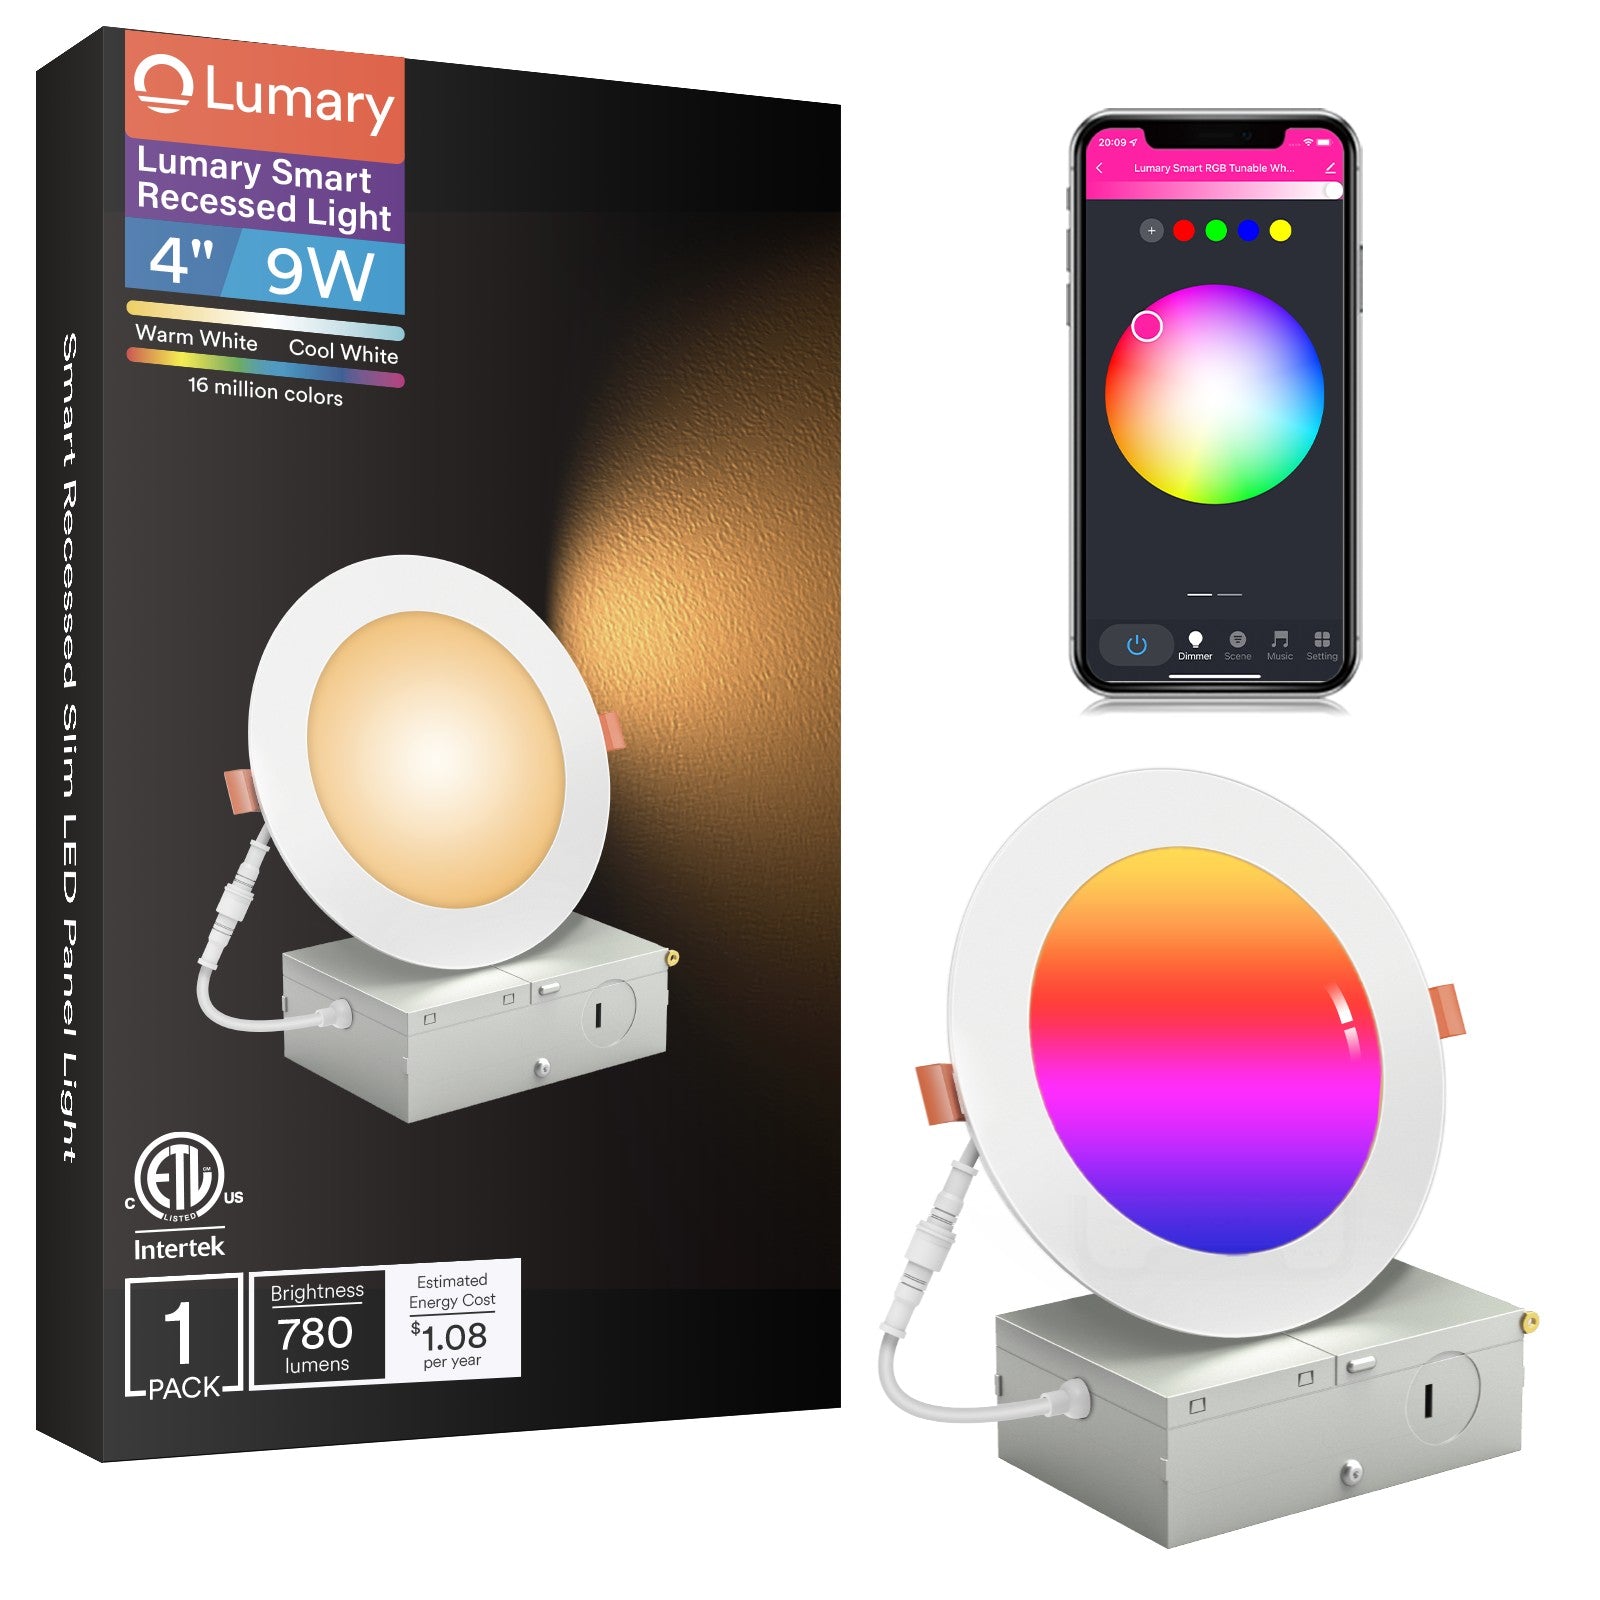
When selecting easy install recessed lighting, consider the size, brightness, and color temperature of the fixtures. For instance, the is an excellent option that combines modern design with functionality.
Final Thoughts
Installing easy install recessed lighting can transform your living space while providing a professional finish. By following the steps outlined in this guide, you can achieve a beautiful and well-lit home. Remember, if you encounter any difficulties, consulting a professional electrician is always a wise choice. Happy lighting!