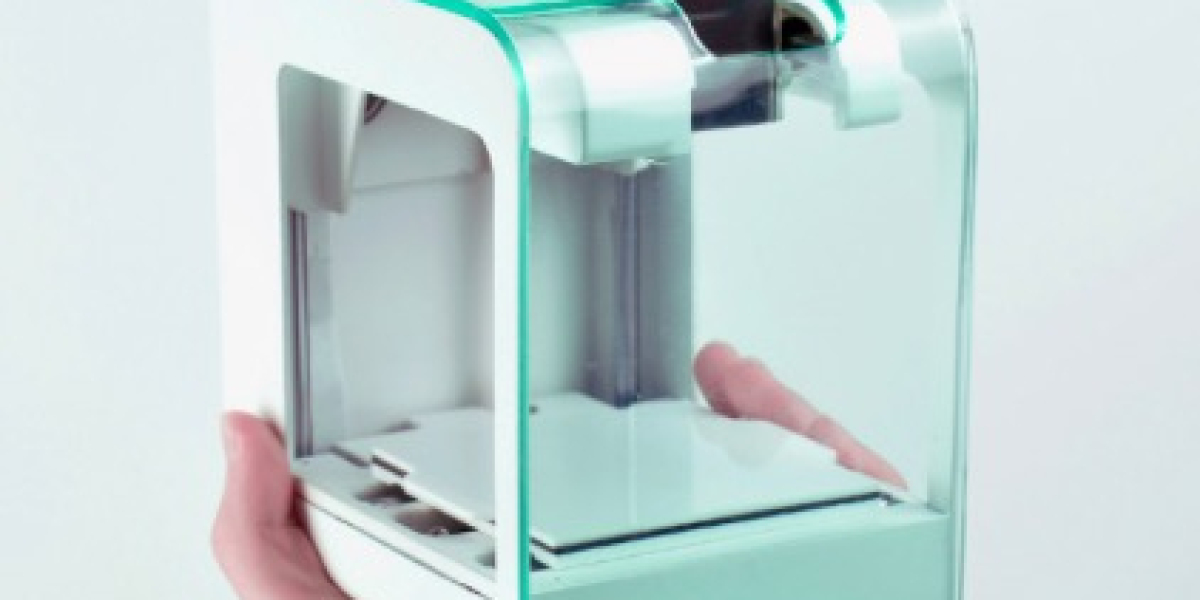
Compact, user-friendly, and often more affordable than larger models, mini 3D printers provide a hands-on way to learn the basics of 3D printing. Despite their small size, these printers can produce detailed prints, making them ideal for hobbyists, educators, and small-scale projects. Here’s a step-by-step guide on how to operate a mini 3D printer for a successful printing experience.
1. Prepare the Printer and Workspace
Before beginning any print, make sure your mini 3D printer is on a stable, flat surface. This prevents vibrations that could affect print quality and ensures safety during operation. Check that all components are properly assembled according to the manufacturer’s instructions. Most mini 3D printers come with a basic assembly guide, but if your model requires additional setup, follow each step carefully.
Ensure your workspace is well-ventilated, as some filaments release fumes when heated. While mini 3D printers typically don’t generate as much heat or fumes as larger models, a ventilated space promotes a safer and more comfortable working environment.
2. Load the Filament
Loading filament is one of the initial steps in operating your mini 3D printer. Most mini 3D printers use standard 1.75mm filament, commonly PLA or PETG. To load the filament, preheat the extruder to the filament’s recommended temperature (typically 180-220°C for PLA). Once preheated, manually feed the filament into the extruder’s filament intake. As the filament enters, the extruder’s gear should catch it, allowing it to flow toward the nozzle. Check for any signs of clogging by ensuring filament extrudes smoothly from the nozzle before starting your print.
3. Level the Print Bed
A level print bed is essential for a successful print. Many mini 3D printers offer manual bed leveling, while some have auto-leveling features. For manual leveling, adjust the screws under the print bed to achieve a uniform distance between the nozzle and the bed across all points. A common method is to slide a piece of paper between the nozzle and the bed; there should be slight resistance without tearing the paper. Repeat this process in all four corners and the center to ensure even leveling. Proper bed leveling helps improve adhesion and prevents issues like warping and layer shifting.
4. Prepare and Slice Your 3D Model
Before printing, you’ll need a 3D model, which can be downloaded from online repositories or designed in CAD software. Once you have your model, open it in slicing software, like Cura or PrusaSlicer. The slicer will convert your 3D model into layers and generate G-code, which contains the instructions for the printer. In the slicer, set parameters like layer height, infill density, print speed, and support structures if needed. Mini 3D printers typically work well with layer heights between 0.1mm and 0.3mm, balancing quality and speed.
5. Start the Print
Once the model is sliced and saved to an SD card or transferred via USB, insert it into the printer and select the file from the printer’s interface. Start the print and observe the first layer closely, as it sets the foundation for the rest of the model. If the first layer appears uneven or is not adhering well, pause the print, re-level the bed, or adjust the nozzle height slightly.
6. Monitor the Print and Make Adjustments if Needed
While the print is running, keep an eye on the printer. Mini 3D printers often come with basic monitoring functions, but it’s still a good practice to check for common issues, such as filament tangling, nozzle clogging, or layer shifting.
7. Remove and Post-Process the Print
Once the print is finished, let it cool before removing it from the bed to avoid warping or damaging the print. Many mini 3D printers have a removable print bed, making it easier to remove the model. After removal, you may need to clean up the print by trimming any support structures or sanding rough edges.
Conclusion
Operating a mini 3D printer involves careful preparation, calibration, and monitoring to achieve quality results. By understanding each step, from loading the filament to finalizing the print, beginners can quickly become comfortable with their mini 3D printer. With practice, you’ll be able to create impressive 3D prints, experiment with different designs, and enjoy the many creative possibilities mini 3D printers offer.


