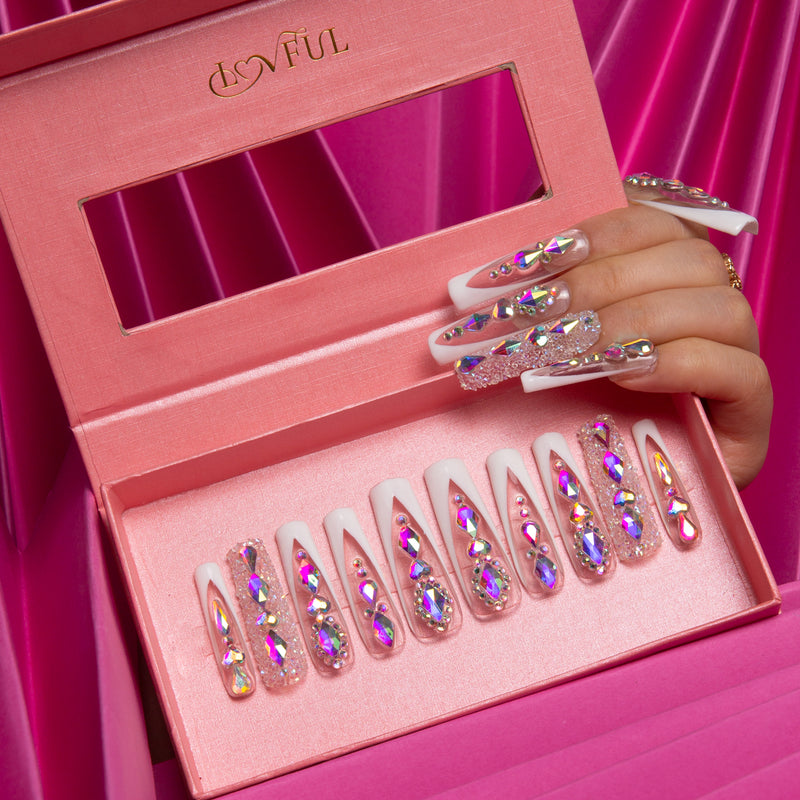
Stick-on nails, also known as press-on nails, have revolutionized the way we approach nail care and aesthetics. They offer a convenient and stylish alternative to traditional manicures, allowing individuals to achieve stunning results without the need for a salon visit. In this guide, we will explore the best practices for applying and removing stick-on nails, ensuring you achieve a flawless finish every time.

Understanding Stick-On Nails
Stick-on nails come in various shapes, sizes, and designs, making them suitable for any occasion. They are typically made from acrylic or gel materials and are pre-designed to mimic the look of a professional manicure. But how do you choose the right set for your needs? Consider factors such as your nail shape, length preference, and the occasion for which you are preparing. By selecting the right stick-on nails, you can enhance your overall look effortlessly.
Applying Stick-On Nails: Step-by-Step Guide
Applying stick-on nails can be a straightforward process if you follow these essential steps:
- Preparation: Start by cleaning your natural nails. Remove any old polish and wash your hands thoroughly.
- File and Buff: Gently file the surface of your nails to create a better adhesive bond. Buffing helps the stick-on nails adhere more effectively.
- Choose the Right Size: Select the stick-on nails that fit your natural nails best. Most sets come with multiple sizes to accommodate different nail shapes.
- Apply Adhesive: If your stick-on nails do not come with pre-applied adhesive, use a nail glue or adhesive tabs. Apply a small amount to the back of the nail.
- Press and Hold: Align the stick-on nail with your natural nail and press down firmly for about 10-15 seconds to ensure a secure fit.
By following these steps, you can achieve a professional-looking manicure at home. For a wide selection of beautiful stick-on nails, visit  .
.
Removing Stick-On Nails Safely
Removing stick-on nails can be just as important as applying them. Improper removal can damage your natural nails. Here’s how to do it safely:
- Soak: Fill a bowl with warm, soapy water and soak your fingers for about 10-15 minutes. This helps to loosen the adhesive.
- Gently Pry: Use a wooden stick or a cuticle pusher to gently lift the edges of the stick-on nails. Be careful not to force them off.
- Moisturize: After removal, wash your hands and apply cuticle oil or moisturizer to nourish your natural nails.
Tips for Maintaining Your Stick-On Nails
To ensure your stick-on nails last as long as possible, consider the following tips:
- Avoid excessive exposure to water, especially during the first few hours after application.
- Use gloves when doing household chores to protect your nails.
- Store unused stick-on nails in a cool, dry place to maintain their quality.
Conclusion
Stick-on nails are a fantastic way to achieve beautiful nails without the hassle of traditional manicures. By following the steps outlined in this guide, you can apply and remove your stick-on nails with confidence. Remember, the key to a flawless finish lies in proper preparation and care. Enjoy experimenting with different styles and designs to express your unique personality!


