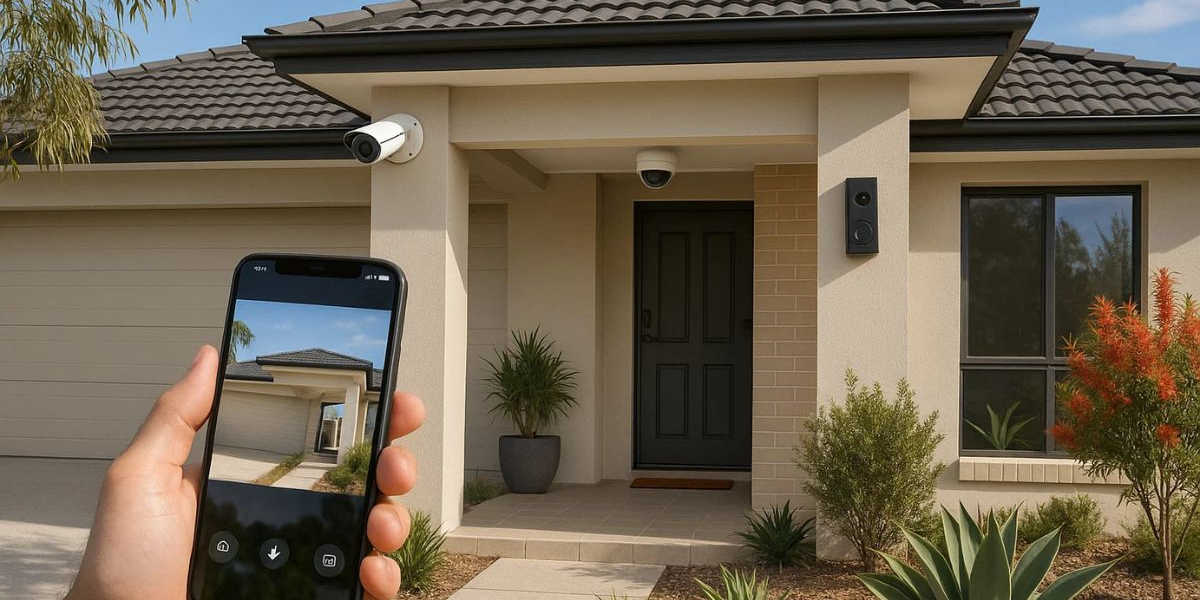
Why Video Tours Matter in Real Estate
Before diving into the how-to, let’s understand why video tours are a game changer:
Increased engagement: Listings with video receive more clicks and views.
Builds trust: Helps buyers see the real layout and features of the property.
Saves time: Filters out non-serious buyers who can preview homes virtually.
Mobile-friendly: Most buyers search on phones, and video is highly consumable content.
Step-by-Step Guide to Creating a Real Estate Video Tour
1. Plan Your Tour in Advance
Before hitting record, make a plan:
Walk through the property yourself and note key selling points.
Decide on the flow — typically start at the entrance, then living areas, kitchen, bedrooms, bathrooms, backyard, etc.
Check lighting throughout the day to choose the best time to shoot.
2. Clean and Stage the Property
A video tour should show the home in its best light:
Declutter and deep clean the property.
Open curtains and blinds to let in natural light.
Turn on all lights to make the space feel bright and inviting.
Stage with minimal furniture and simple décor to make it look spacious.
3. Choose the Right Equipment
You don’t need expensive gear, but quality matters.
Camera: A smartphone with 4K video works, but a DSLR or mirrorless camera is better.
Stabilizer/Gimbal: Prevents shaky footage and ensures smooth walkthroughs.
Tripod: Great for static shots or time-lapses.
Mic: If you’re adding narration, use a lapel mic or directional microphone.
Drone (optional): Aerial footage is excellent for larger properties or scenic views.
4. Shoot Smooth, Steady Footage
Tips for shooting:
Move slowly and steadily from room to room.
Pan the camera smoothly to show full spaces.
Capture both wide-angle views and close-ups of special features (e.g., granite countertops, fireplace, custom tile work).
Avoid zooming while walking — it can make footage jerky.
5. Use Natural Light as Much as Possible
Lighting is key:
Film during daylight hours.
Avoid harsh shadows by choosing late morning or early afternoon.
Turn on interior lights for consistency and brightness.
6. Edit Your Video Professionally
Post-production is where your footage comes to life.
Use tools like:
iMovie (Mac)
Adobe Premiere Pro
Final Cut Pro
CapCut or InShot (for mobile)
Key editing steps:
Trim unnecessary footage.
Add soft background music.
Include text overlays for room labels, square footage, and highlights.
Add your logo, website, and contact info at the end.
7. Add a Voiceover or Agent Intro
A brief introduction can help personalize your tour:
Start with a greeting and a short pitch.
Walk viewers through what they’re seeing — highlight upgrades, features, and neighborhood perks.
Keep it friendly, professional, and concise.
8. Optimize for Online Sharing
Once edited, upload to platforms where buyers are looking:
YouTube (make sure to use SEO keywords in title & description)
Instagram Reels or Stories
Facebook
Your website listing page
WhatsApp and property groups
Don’t forget to:
Use an engaging thumbnail.
Write a clear and catchy video title.
Add property hashtags (e.g., #3BHKinDelhi #LuxuryHome #VirtualTour).
Bonus Tips
Keep it under 3–5 minutes – enough to showcase without losing viewer interest.
Use call-to-actions (CTAs) like “Schedule a tour” or “Call now.”
Create a video tour template to speed up the process for future listings.
Important Links
Bayshore Road Condo Floor Plans
Bayshore Road Condo Floor Plans
Why the Bayshore Road Condo Location Is One of Singapore’s Best-Kept Secrets
Unpacking the Bayshore Road Condo Site Plan: What Future Residents Can Expec
How to Buy Your First Condo in Singapore: A Complete Step-by-Step Guide for First-Time Homebuyers
Short Term Rental Property Investment Guide
Steps to Buying a House for the First Time


