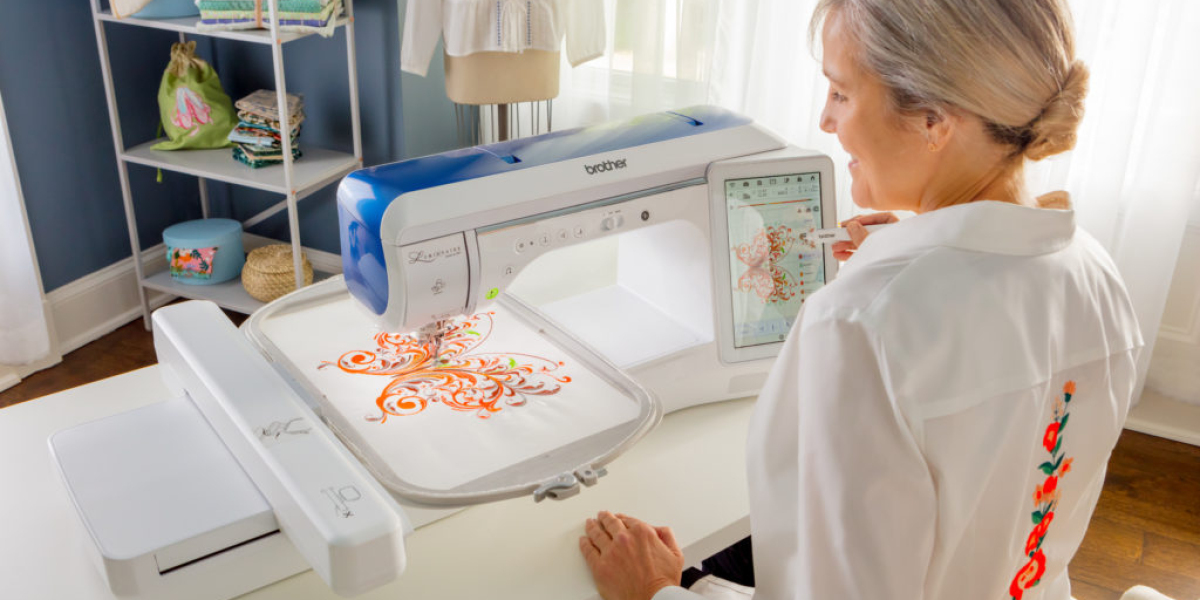
So, you’ve got an awesome embroidery design file—maybe you downloaded it, bought it, or had it custom digitized. But now you’re staring at your machine, wondering, "How do I actually use this thing?"
The good news? It’s easier than you think. Whether you have a Brother, Singer, Janome, or industrial machine, the process is pretty similar. In this guide, we’ll walk through everything you need to know—from transferring files to troubleshooting common issues—so you can start stitching like a pro. Follow the guide to know how to use digitized embroidery designs with any machine
Step 1: Make Sure You Have the Right File Format
Not all embroidery machines read the same file types. Before you panic, check which format your machine supports:
Most Common Machine Formats:
- Brother / Babylock: .PES (also .PEC, .PES2, .PES3)
- Janome / Elna: .JEF
- Singer / Compucon: .XXX (older models), .CSD (newer)
- Pfaff / Husqvarna Viking: .VIP
- Tajima / Commercial Machines: .DST
- Bernina / Melco: .EXP
If your design isn’t in the right format, you’ll need to convert it. Some options:
- Use embroidery software (Hatch, Wilcom, Embrilliance)
- Try a free online converter (limited quality)
- Hire a digitizing service (best for professional results)
Pro Tip: Always keep the original file—you might need it for future conversions.
Step 2: Transfer the Design to Your Machine
Once you have the correct file, you need to get it onto your embroidery machine. Here’s how:
Option 1: USB Stick (Easiest Method)
- Insert a USB drive into your computer.
- Copy the design file to the USB.
- Plug the USB into your embroidery machine.
- Select the design from the machine’s menu.
Option 2: Direct Computer Connection (Wi-Fi / Cable)
Some newer machines (like higher-end Brother or Janome models) let you:
- Transfer via Wi-Fi (if your machine supports it)
- Connect via USB cable (like a printer)
Option 3: Embroidery Cards (Older Machines)
Vintage machines (like some Singer or Pfaff models) use special memory cards. You’ll need:
- A compatible card reader
- Software to load designs onto the card
Step 3: Hoop Your Fabric Correctly
Even the best digitized design won’t stitch well if your fabric isn’t prepped right.
Key Hooping Tips:
✔ Use stabilizer – Prevents puckering (cutaway for stretchy fabrics, tearaway for stable ones).
✔ Don’t over-tighten – Stretched fabric distorts the design.
✔ Center the design – Most machines have alignment guides.
Pro Tip: If stitching on thick fabrics (like caps or towels), use specialty hoops for better results.
Step 4: Adjust Machine Settings Before Stitching
Before hitting start, double-check:
1. Thread & Needle
- Use quality embroidery thread (cheap thread breaks more).
- Match the needle size to your fabric (75/11 for lightweight, 90/14 for heavy).
2. Tension Settings
- Too tight? Thread may snap.
- Too loose? Stitches look loopy.
3. Design Size & Placement
- Resize on the machine if needed (but avoid extreme scaling—it can distort stitches).
- Use the machine’s preview mode to check positioning.
Step 5: Start Stitching & Monitor Progress
Don’t just walk away—especially on the first run!
What to Watch For:
- Thread breaks – Pause and rethread if needed.
- Puckering fabric – Stop and adjust tension or stabilizer.
- Misaligned stitches – Cancel and check hooping.
Pro Tip: Keep a pair of small scissors or snips nearby to trim jump stitches between sections.
Troubleshooting Common Issues
Problem: Design Doesn’t Load
➔ Fix: Check the file format. Some machines only read specific versions (e.g., .PES vs. .PES3).
Problem: Stitches Look Messy
➔ Fix: Rehoop with stabilizer, adjust tension, or slow down stitch speed.
Problem: Machine Skips Sections
➔ Fix: The file might be corrupted—re-download or reconvert it.
Problem: Thread Keeps Breaking
➔ Fix: Change the needle, use better thread, or reduce speed.
Bonus: Tips for Perfect Embroidery Every Time
1. Test on Scrap Fabric First
Always do a test run on similar material before stitching the final piece.
2. Clean Your Machine Regularly
Lint buildup causes skipped stitches and thread breaks.
3. Organize Your Design Files
Label them clearly (e.g., "Logo_3in_PES") so you can find them later.
4. Buy Quality Designs
Free designs often have digitizing flaws—invest in well-made files for better results.
Final Thoughts
Using digitized embroidery designs isn’t rocket science—once you know the basics, it’s just a matter of:
- Getting the right file format
- Transferring it to your machine
- Prepping your fabric properly
- Adjusting settings as needed
- Monitoring the stitchout
Whether you’re embellishing hats, customizing bags, or adding logos to uniforms, these steps will help you avoid frustration and get professional-looking results.
Ready to start stitching? Grab a design, load it up, and let your machine do the magic!


