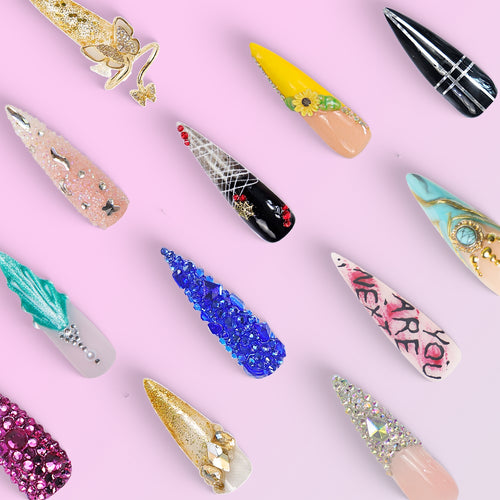
Press-on acrylic nails have become a popular choice for those seeking a quick and stylish manicure without the commitment of traditional nail enhancements. This guide will delve into the essentials of press-on acrylic nails, including how to choose the right set, the application process, and safe removal techniques.

Understanding Press-On Acrylic Nails
Press-on acrylic nails are pre-designed nail extensions that can be easily applied at home. They come in various shapes, sizes, and designs, making them suitable for any occasion. But what makes them so appealing? The convenience and versatility of press-on acrylic nails allow individuals to switch up their look without the need for professional help.
Choosing the Right Press-On Acrylic Nails
When selecting press-on acrylic nails, consider the following factors:
- Size: Ensure that the nails fit your natural nail bed. Most brands offer a size guide to help you find the perfect fit.
- Design: Choose a design that reflects your personal style. From classic French tips to bold patterns, the options are endless.
- Material: Look for high-quality materials that provide durability and a natural appearance.
- Ease of Application: Some press-on nails come with adhesive tabs, while others require nail glue. Consider your comfort level with each method.
How to Apply Press-On Acrylic Nails
Applying press-on acrylic nails can be a straightforward process if done correctly. Here’s a step-by-step guide:
- Preparation: Start by cleaning your natural nails. Remove any polish and push back your cuticles.
- Size Matching: Select the press-on nails that fit each of your natural nails.
- Adhesive Application: If using glue, apply a small amount to the back of the press-on nail and your natural nail. If using adhesive tabs, follow the instructions provided.
- Press and Hold: Firmly press the nail onto your natural nail for about 10-15 seconds to ensure a secure bond.
Removing Press-On Acrylic Nails Safely
To maintain the health of your natural nails, it is essential to remove press-on acrylic nails properly. Here’s how:
- Soak: Soak your nails in warm, soapy water for about 10-15 minutes to loosen the adhesive.
- Gently Pry: Use a wooden stick or a cuticle pusher to gently lift the edges of the press-on nails.
- Moisturize: After removal, apply cuticle oil to nourish your natural nails.
Where to Find Quality Press-On Acrylic Nails
If you are looking for a wide selection of press-on acrylic nails, consider visiting  . They offer a variety of styles that cater to different tastes and occasions.
Conclusion
Press-on acrylic nails provide an excellent alternative for those who desire beautiful nails without the hassle of salon visits. By understanding how to choose, apply, and remove them safely, you can enjoy the benefits of stunning nails at your convenience. Whether you are preparing for a special event or simply want to elevate your everyday look, press-on acrylic nails are a fantastic option.


