Unlock the Secrets of Studio Lighting for Stunning Photography!
When it comes to photography, lighting can make or break an image. Studio lighting, in particular, is a powerful tool that allows photographers to have complete control over how their subjects are illuminated. Understanding studio light photography techniques not only enhances the quality of your photographs but also helps in conveying the right mood and emotion. In this article, we will explore essential studio lighting concepts, equipment, and practical tips to help you master this art form. Whether you are a beginner or looking to refine your skills, by the end of this guide, you will be equipped with the knowledge to create stunning images that capture your audience's attention.
Understanding Studio Lighting Basics
At the heart of studio lighting lies an understanding of its fundamental concepts. The primary light sources in photography can be categorized into three main types: key light, fill light, and backlight. The key light is your main source of illumination and sets the overall exposure of your image. The fill light, on the other hand, softens the shadows created by the key light, ensuring a balanced look. Backlight adds depth to your photographs by separating the subject from the background, creating a three-dimensional effect. Additionally, light quality—referring to the softness or hardness of the light—plays a crucial role in shaping the mood of your images. A soft light, often achieved with diffusers, creates gentle shadows, while a hard light produces stark contrasts. The direction in which light hits your subject and its color temperature also significantly influence the final outcome. Warmer tones can evoke feelings of comfort, while cooler tones might suggest a more clinical or detached atmosphere. Understanding these elements is essential for any photographer aiming to elevate their studio work.
Essential Studio Lighting Equipment
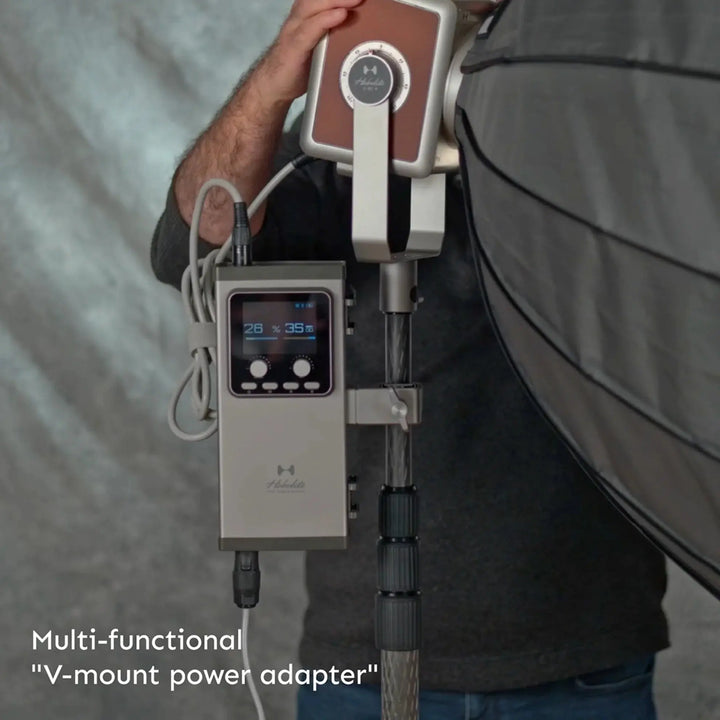
To effectively harness the power of studio lighting, having the right equipment is crucial. A few essential items should be on every photographer's checklist. Softboxes are a popular choice for diffusing light and creating soft, even illumination. They can help eliminate harsh shadows and provide a lovely, flattering light on your subject. Reflectors are another indispensable tool, redirecting light to fill in shadows and enhance highlights. They come in various colors, allowing for creative manipulation of light. Umbrellas, both reflective and shoot-through, are fantastic for spreading light over a wider area, making them ideal for larger setups. Additionally, a sturdy light stand is necessary to safely position your lights. As you venture into different photography styles, you may find yourself using specialized equipment, but mastering these basics will set a solid foundation for your lighting skills.
Techniques for Effective Lighting
Once you have a grasp on the basics and the necessary equipment, it's time to explore various techniques that can elevate your studio lighting game. One fundamental technique is manipulating lighting ratios, which refers to the balance between the key and fill lights. A higher ratio creates dramatic shadows, while a lower ratio results in a more uniform illumination. Additionally, using different light modifiers—such as grids or snoots—can help control the spread and focus of your light, allowing you to create specific effects. Shadows and highlights are essential elements in photography that can dramatically change the perception of your subject. Experimenting with shadows can create a sense of mystery or drama, while highlights can add emphasis and draw attention to certain features. As a friend once mentioned during a shoot, "Good lighting is like a good story; it has the power to captivate and evoke emotions." Taking the time to explore these techniques will not only improve your skills but also enhance your creativity in the studio.
Practical Tips for Studio Lighting Setup
Setting up your studio lighting doesn't have to be a daunting task. Start by considering the type of photography you are shooting; each style requires a different approach to lighting. For portraits, placing the key light slightly above and to the side of your subject can create flattering shadows, accentuating facial features. In product photography, a more even lighting setup is often preferred to showcase the product without distracting shadows. Adjusting the intensity of your lights is also vital; dimming them can soften the overall look, while increasing their brightness can add drama and intensity. Don't shy away from experimenting with various setups; sometimes, the best results come from trial and error. A friend of mine once spent an entire afternoon repositioning lights to achieve the perfect shot of a still life; the effort paid off with a stunning image that highlighted every detail beautifully. Keep in mind that the more you practice, the more comfortable you will become with adjusting your lighting to suit your creative vision.
Mastering Studio Lighting Techniques
Mastering studio lighting is an essential skill for photographers looking to create compelling and visually striking images. From understanding the basic concepts to learning about essential equipment and practical setup tips, the journey to becoming proficient in studio lighting is both enriching and rewarding. Remember that practice is key; the more you experiment with different techniques and setups, the more confident you will become in your abilities. Whether you are capturing portraits, products, or creative stills, effective lighting can transform your photography from ordinary to extraordinary. So grab your equipment, turn on those lights, and start creating stunning images that tell your story.