Unlock Stunning Photos: Discover the Ultimate Studio Lighting Secrets!
Lighting is the unsung hero of photography, capable of transforming ordinary images into breathtaking works of art. Whether you're an aspiring photographer or a seasoned professional, the right lighting can make all the difference in achieving that perfect shot. In this article, we'll delve into studio lighting kits designed to enhance your photography setup. From understanding the components of a kit to setting it up effectively, we'll equip you with the knowledge needed to elevate your photography game. So, let’s explore how the right lighting can unlock the full potential of your images!
Understanding Studio Lighting Kits
A studio lighting kit typically comprises essential components like softboxes, stands, lights, and sometimes reflectors. Softboxes diffuse the light, creating a soft, even illumination that minimizes harsh shadows—ideal for portrait photography. Stands provide stability and height adjustments, allowing photographers to position their lights at the perfect angle. The lights themselves can vary in type, from continuous bulbs that provide a constant source of illumination to strobes that flash for brief moments, freezing motion and capturing crisp details. Understanding these components is fundamental to achieving optimal lighting for your photography needs.
Types of Studio Lighting Kits
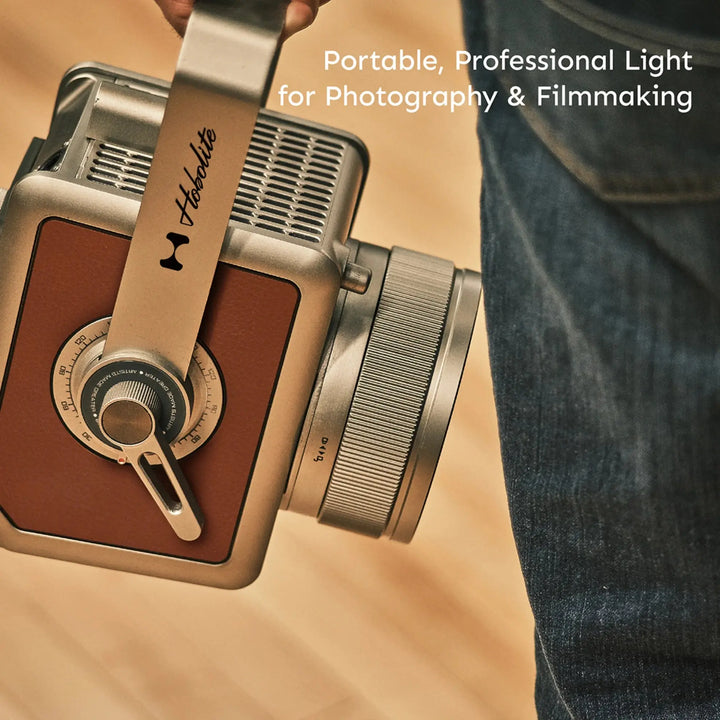
When it comes to studio lighting kits, photographers can choose between continuous lighting and strobe lighting. Continuous lighting kits offer a steady light source, making it easier to see how the light affects your subject in real-time. This can be particularly beneficial for beginners or for video shoots. On the other hand, strobe lighting kits are known for their ability to produce powerful bursts of light, which can freeze motion and create sharp images, especially in fast-paced environments. Additionally, there are portable kits perfect for on-the-go shoots and stationary kits designed for a fixed studio space. Each type has its pros and cons, and understanding these can help you make an informed decision based on your specific photography needs.
Choosing the Right Studio Lighting Kit
Choosing the right studio lighting kit is pivotal and should be guided by your photography needs. Are you focusing on portrait photography, product shots, or event coverage? For portraits, a kit with softboxes would be ideal to create flattering, diffused light. For product photography, consider a setup that includes reflectors to highlight textures. Additionally, think about your workspace. A larger studio may accommodate more complex setups, while a small home studio might require a more compact solution. Your budget is also an important factor—there are kits available for all price ranges, so determine what you’re willing to invest in your craft. Lastly, consider your skill level; some kits are designed with beginners in mind, while others are more suited for experienced photographers.
Setting Up Your Studio Lighting
Setting up a basic studio lighting kit can be an exciting process. Start by positioning your key light at a 45-degree angle from your subject; this will help create depth and dimension in your photos. If you're using a softbox, ensure it's a few feet away from the subject to avoid overwhelming brightness. Next, consider adding a fill light on the opposite side to soften shadows, and if needed, a backlight to separate the subject from the background. Adjust the angles based on the effect you want to achieve, and don’t hesitate to experiment. Common pitfalls include overexposing your subject or creating harsh shadows, so take time to tweak the setup until you achieve balanced lighting.
Tips for Mastering Studio Lighting
Additionally, experiment with different configurations and lighting setups. Don't be afraid to feel dynamic light—each setup emphasizes something new. It’s essential to learn how light affects your images. Often, the importance of light is overlooked; remember, using reflectors can help prevent unwanted glare. As a photographer, practice patience; mastering lighting teaches you how to effectively move light around your subject.
Elevating Your Photography with Effective Lighting
In conclusion, investing in a quality studio lighting kit can significantly enhance your photography, opening the door to stunning and professional-looking images. From understanding the components and types of kits available to choosing the right one and mastering the setup, each step is crucial in your photography journey. Embrace the opportunity to explore different lighting techniques and setups, as these will not only improve your skills but also your creativity. So go ahead, dive into the world of studio lighting, and watch your photography transform!
