Unlock Your Creativity: Transform Your Space with the Ultimate Studio Lighting Secrets!
Lighting is the unsung hero of creative spaces, often overlooked yet crucial in setting the mood and enhancing productivity. Whether you are a photographer, videographer, or an artist, the right studio lights can dramatically elevate your work, bringing your creative visions to life. Think about those moments when you struggled to capture the perfect shot or felt your artwork lacked vibrancy; more often than not, inadequate lighting was the culprit. This article aims to guide you through the essential considerations when purchasing studio lighting equipment tailored to your specific needs, ensuring that creativity flows freely in your workspace.
Understanding Studio Lights
Studio lights are artificial light sources specifically designed to provide optimal lighting conditions for photography and videography. Unlike natural light, which can be unpredictable and inconsistent, studio lights offer controllable brightness and color temperatures, enabling creators to manipulate the environment to their advantage. The primary types of studio lights include continuous lights, which provide a constant beam, and strobe lights, which emit short bursts of intense light. Each type serves different purposes; for instance, continuous lights are excellent for video production, while strobe lights are typically favored in photography for capturing fast-moving subjects. Understanding what each type of light brings to the table is vital for anyone looking to enhance their creative output.
Key Factors to Consider When Purchasing Studio Lights
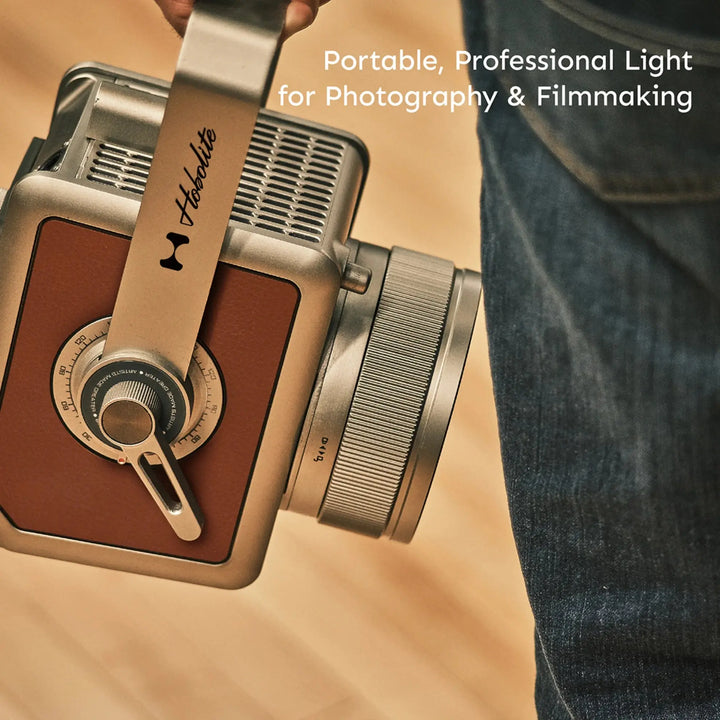
When it comes to selecting studio lights, several critical factors must be taken into account. Brightness is paramount; the amount of lumens emitted by a light will dictate its effectiveness in illuminating your creative space. Color temperature, measured in Kelvins, affects the mood of your imagery; warm tones can create a cozy ambiance, while cooler tones lend a more clinical feel. Beam angle is another essential element; a wider beam angle provides more coverage, ideal for larger setups, while a narrow beam is perfect for focused lighting on specific subjects. Lastly, consider portability. If you plan to use your lights in various locations, lightweight and compact options are your best bet. Each of these factors influences not just the choice of lighting, but the overall quality and effectiveness of your creative work.
Types of Studio Lighting Equipment
Studio lighting equipment comes in various forms, each with its set of benefits suited for different scenarios. Softboxes are a popular choice, designed to diffuse light and reduce harsh shadows, making them ideal for portrait photography. LED panels offer versatility, providing adjustable brightness and color temperature, which is perfect for both video and photography settings. Ring lights, often used by beauty influencers, provide even, flattering light and eliminate shadows, making them excellent for close-up work. Understanding the specific advantages of these types of equipment can help you select the right tools for your artistic endeavors, enhancing your workflow and the final product.
Setting Up Your Studio Lighting
Setting up studio lights effectively requires a little planning and experimentation. Start by positioning your main light source at an angle to your subject to create depth and dimension, avoiding flat lighting that can wash out features. Use fill lights to soften shadows, and backlights to add separation between the subject and background. Remember to adjust the distance of your lights from the subject; too close can be overwhelming, while too far can lack impact. Techniques such as three-point lighting—combining key, fill, and backlights—can create a professional look that enhances your work. Don’t hesitate to adjust the setup as you go; sometimes, the best results come from trial and error.
Common Mistakes to Avoid
Even seasoned creators can fall into common pitfalls when selecting and using studio lights. One frequent mistake is underestimating the power of lighting; many beginners opt for minimal lighting, thinking it will suffice, only to find their images lacking in detail. Another common error is neglecting to consider the color temperature; mismatched lighting can lead to unnatural skin tones and an overall unappealing aesthetic. Additionally, failing to experiment with light positioning can result in flat, lifeless images. Always take the time to adjust and test your lighting setup, as the right adjustments can make a world of difference in your final results.
Maximizing Your Creative Potential with Lighting
In conclusion, understanding the nuances of studio lighting can significantly impact your creative outcomes. From grasping the different types of lights to making informed decisions based on key factors, being equipped with the right knowledge empowers you to transform your space into a creative haven. Investing in quality studio lights is not just about enhancing visibility; it’s about unlocking your full creative potential. So, take the time to explore your lighting options thoughtfully, and watch as your creativity flourishes in the beautifully illuminated environment you create.